
The stencil goes down and for a few minutes the wings might look too big or too faint. That small pause is the design's hinge point. A tiny nudge in spacing, a request for heavier outer linework, or one extra feather of negative space changes how a wing reads at six months and at five years. These references skip the generic sketches and focus on how to brief your artist, what ages well, and what to wear the day of the session.
1. Fine Line Micro Wing on the Inner Wrist

I've seen micro wings on wrists last surprisingly well when the artist spaces the feathers and avoids hairline strokes. Ask for slightly heavier outer linework and open feather spacing so the negative space keeps the form readable after a year. Pain here is low to moderate and a single short session usually suffices. A common mistake is requesting the tiniest version possible which invites early blur and the need for a touch-up. For showing it off, roll up sleeves and pair with a minimalist watch or thin bracelet that frames the design without covering it.
2. Delicate Behind-the-Ear Winglet
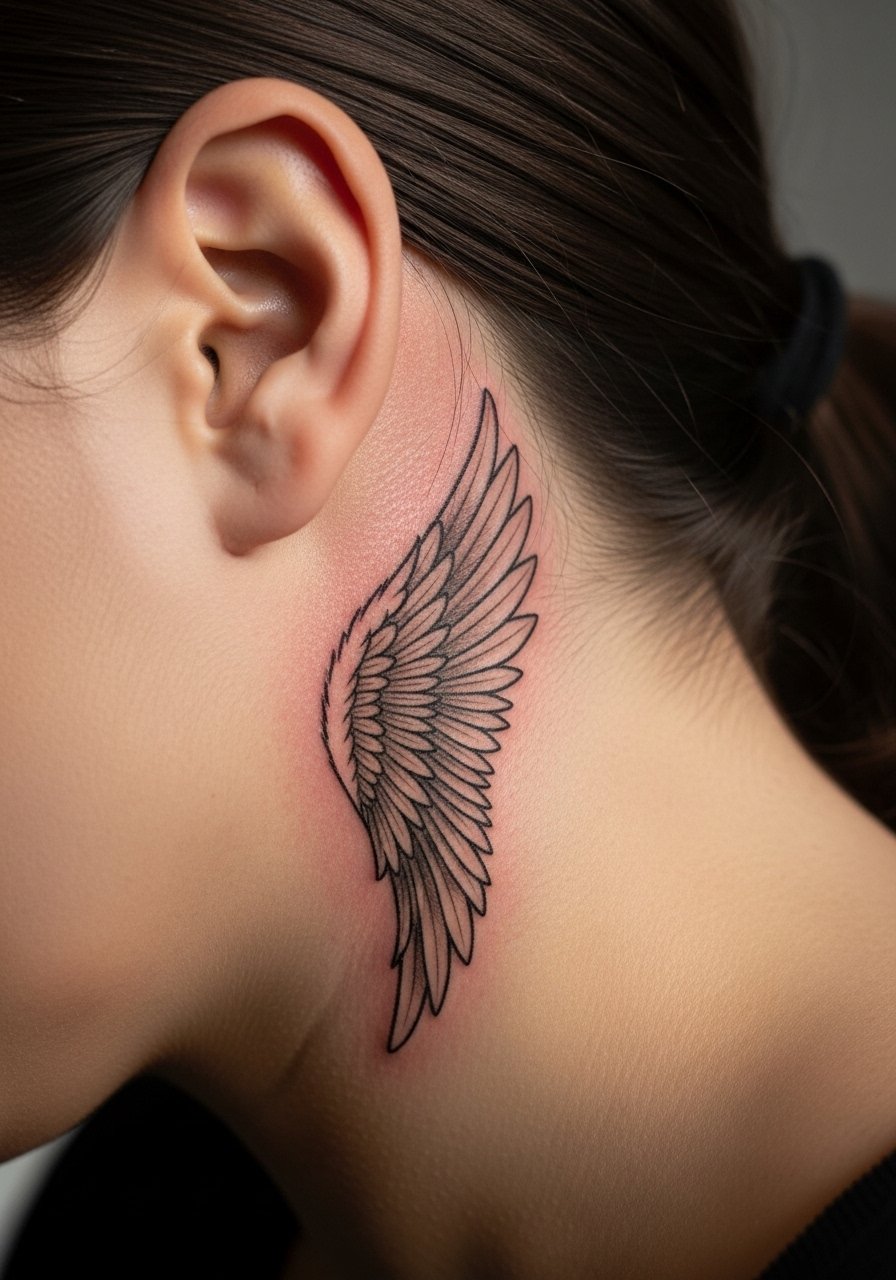
Fair warning, the behind-the-ear area requires careful stencil placement because the curve of the head can skew how a wing sits. Tell your artist you want the wing to follow the hairline not the ear itself. One camp says tiny details here blur fast because of movement and thin skin. The other camp argues that with slightly bolder linework and conservative feather spacing it holds up. Expect a quick session and a possible touch-up at year two. For discretion on session day, wear hair up and bring a light cotton scrunchie so the artist can access the area easily.
3. Mirrored Shoulder-Blade Wings, Minimal Shading
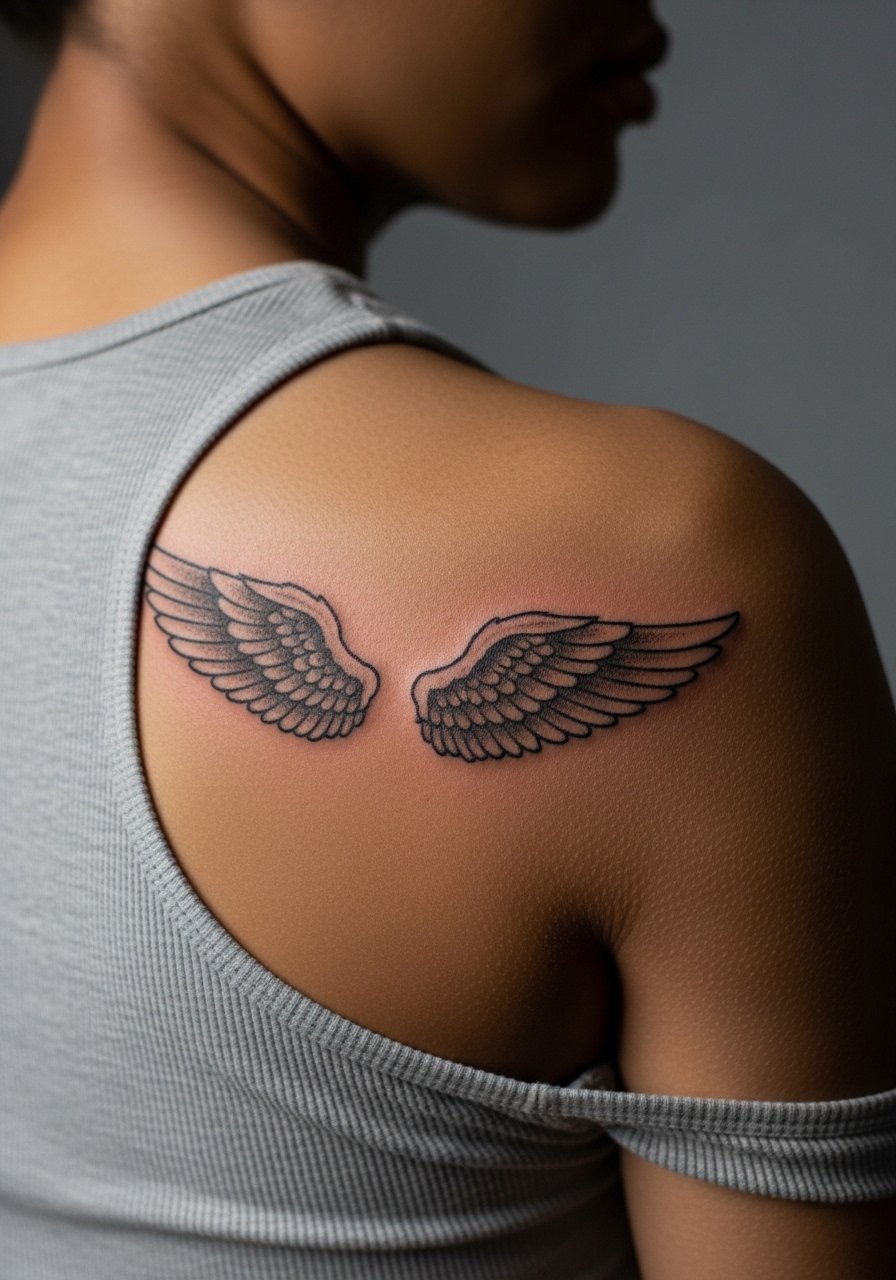
I've seen paired shoulder-blade wings age gracefully when artists prioritize structure over tiny feather detail. This placement benefits from broader feather shapes and light stipple shading near the base so the silhouette reads from a distance. Pain is low and sessions can be split into two sittings for comfort. A common mistake is packing too much micro detail into each feather which becomes muddled after a few years. If you want to show the wings, an open-back top works best and a flowy open-back dress reveals the span without distracting from the linework.
4. Single Wing on the Sternum
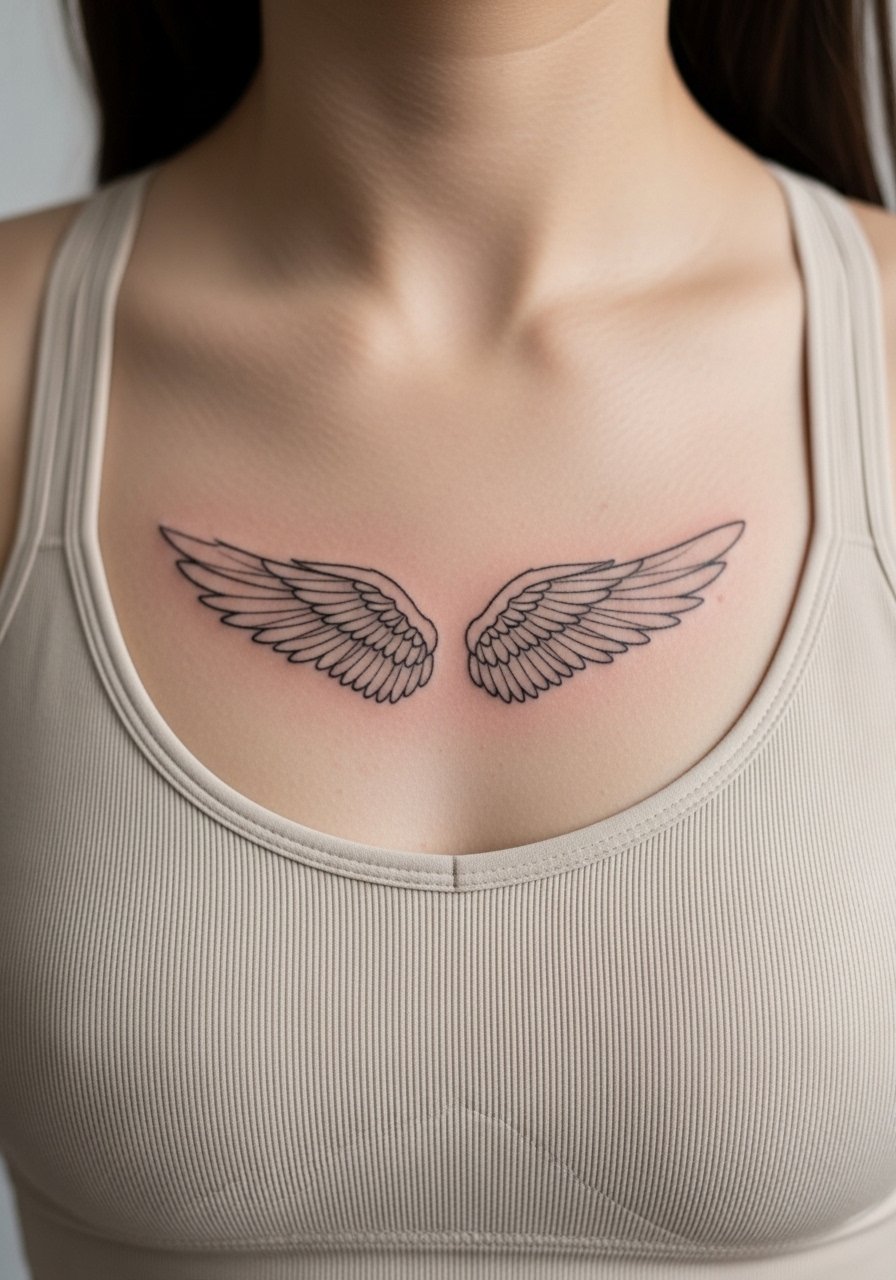
Sternum tattoos demand a careful conversation about symmetry and breathing. The skin here moves a lot with inhale and exhale which can alter how hairline strokes settle. One camp favors bold contour lines for sternum wings and notes they age into a clearer silhouette. The other camp recommends very fine, high-contrast dot work and says it reads more delicate at close range. Expect a moderate pain level and a session that may need breaks. For the appointment, wear a fitted sports bra or bandeau so the artist can work without you being uncomfortable.
5. Tiny Ankle Wing That Wraps the Heel
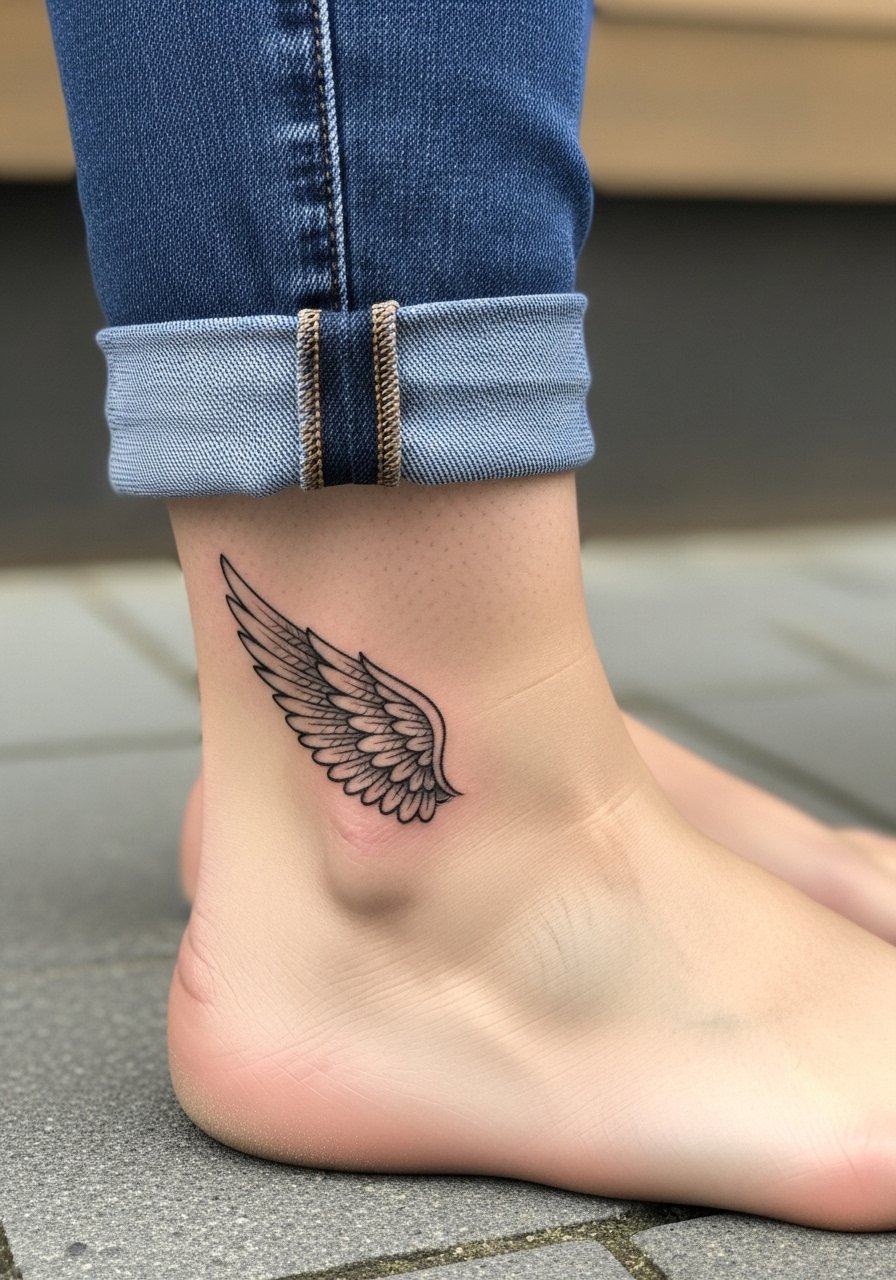
The ankle is a friction zone because socks and shoes rub the area during healing. Ask for slightly denser outer feathers and a touch of negative space so swelling does not obscure the form. The biggest mistake is choosing ultra-fine single-needle lines that disappear inside a year when exposed to daily abrasion. Session time is short and pain is moderate. For the session, slip on slip-on shoes and bring a pair of cotton ankle socks you can leave off for the first few hours to let the artist bandage comfortably.
6. Collarbone Winglet with Soft Shading
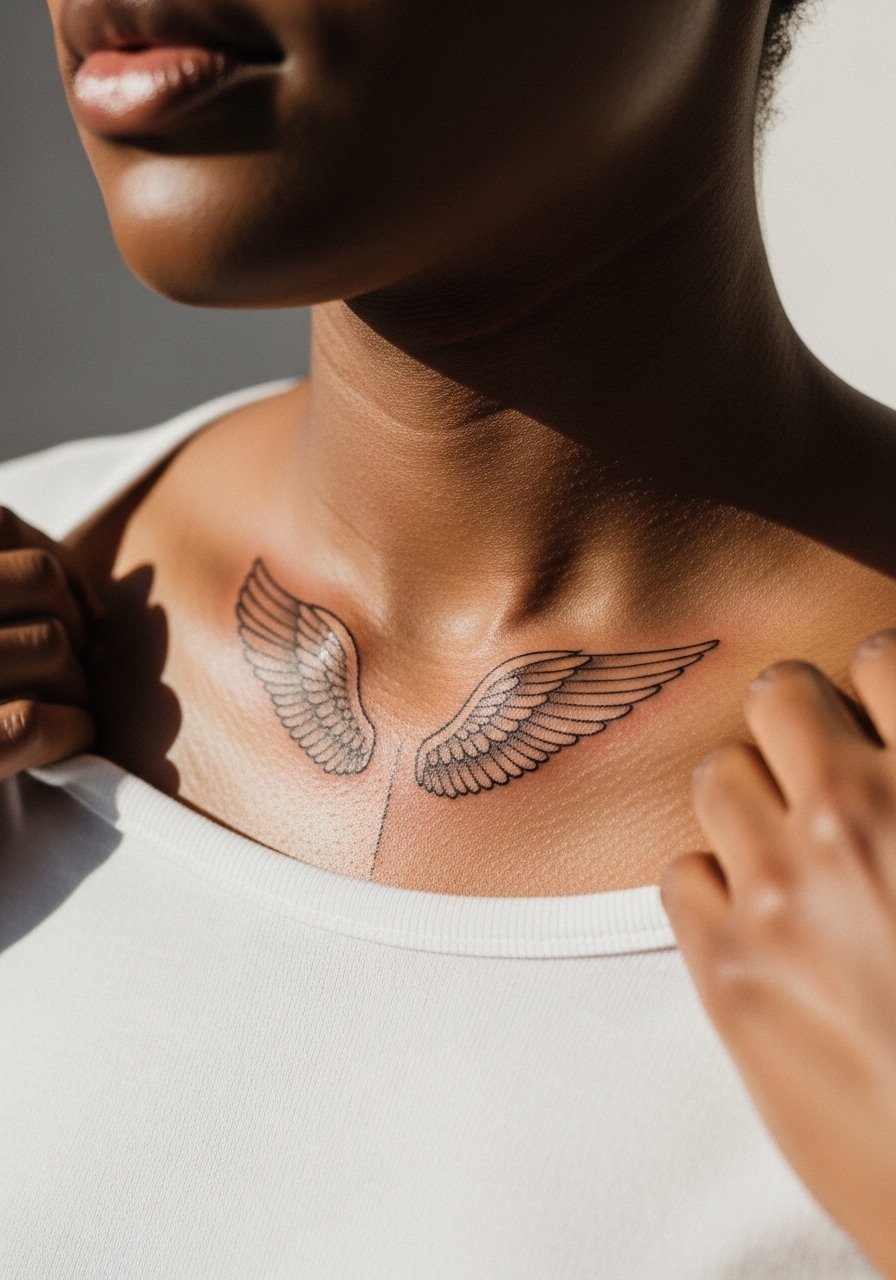
When placed along the collarbone, a small wing reads best with a clear outer edge and soft internal shading using stipple or whip shading. Pain here varies but many call collarbone sessions sharp in short bursts. Tell your artist you want to avoid overly dense fill near the bone because saturation can pile up and look patchy. A common aging issue is sun exposure that flattens contrast, so plan for periodic touch-ups. For showing it off, a wide-neck shirt or off-shoulder top frames the wing without rubbing it.
Studio Day Picks
The wrist, ankle, and collarbone work above each have different access needs, and a few small items smooth the session and the first week.
-
Stencil transfer paper kit. Lets you preview line placement on skin before permanent work, which is handy for asymmetric collarbone and wrist wings.
-
Topical numbing cream. Applied per instructions 30 to 45 minutes before helps with sharp bursts on the collarbone and brief ankle sensitivity.
-
Thin protective film roll. Useful for covering ankle and wrist pieces that face frequent friction from clothing and daily tasks.
-
Fragrance-free gentle body wash. Cleanses healing areas near the collarbone and ankle without irritating fine linework.
-
Aquaphor healing ointment. Thin application for the first few days keeps fine lines from crusting excessively while allowing natural healing.
7. Full-Back Traditional Blackwork Wings
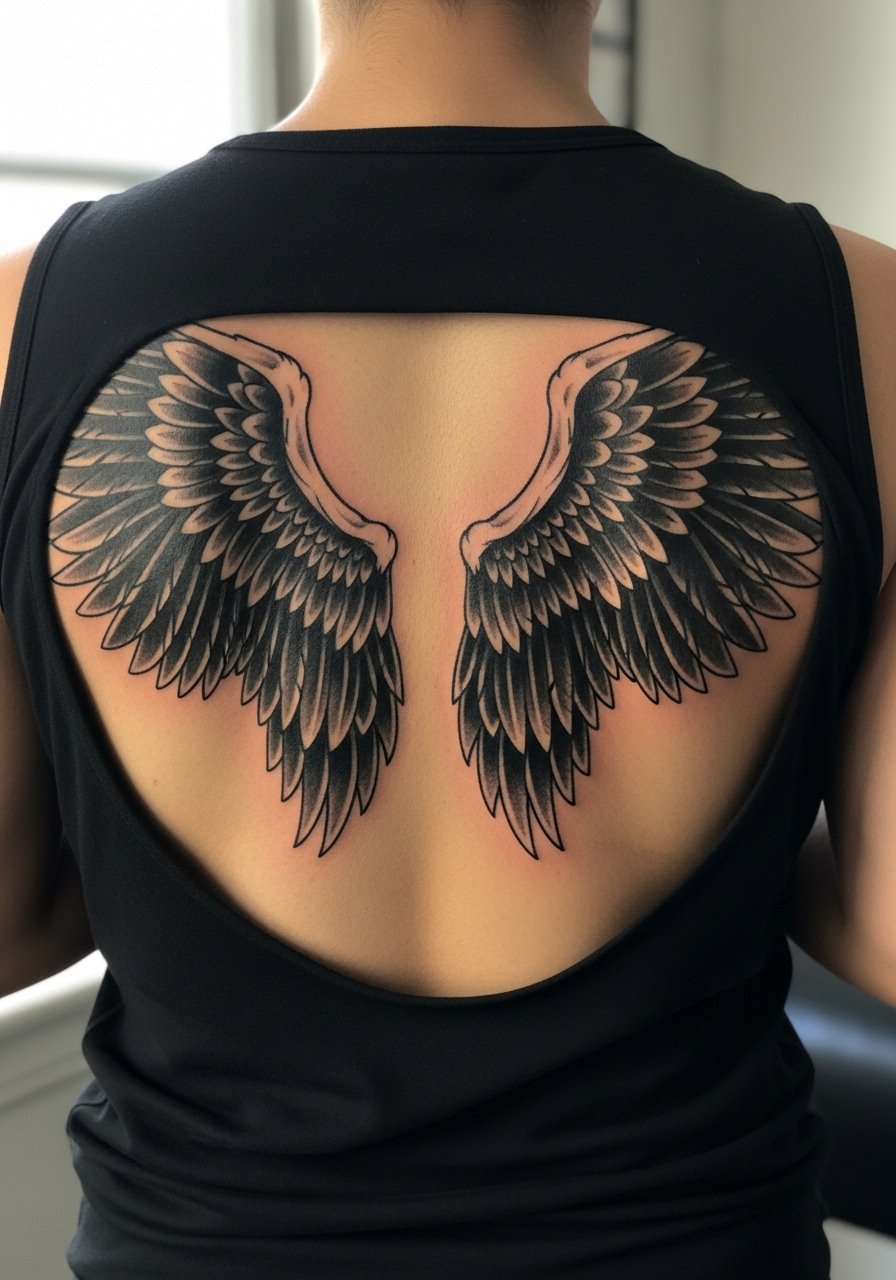
There's something about bold black wings that reads from across a room and keeps its silhouette as skin ages. If longevity is important, request strong outer lines and even saturation in the darker base. Pain is moderate across long sessions and most artists will split this into multiple days. A common error is asking for tiny feather detail across the entire span which can turn into noise after a few years. For session wear, a loose button-down you can pull aside or a tank top is best so the artist can access the upper and mid back without you getting cold.
8. Upper Arm Half-Sleeve Wing with Stipple Shading
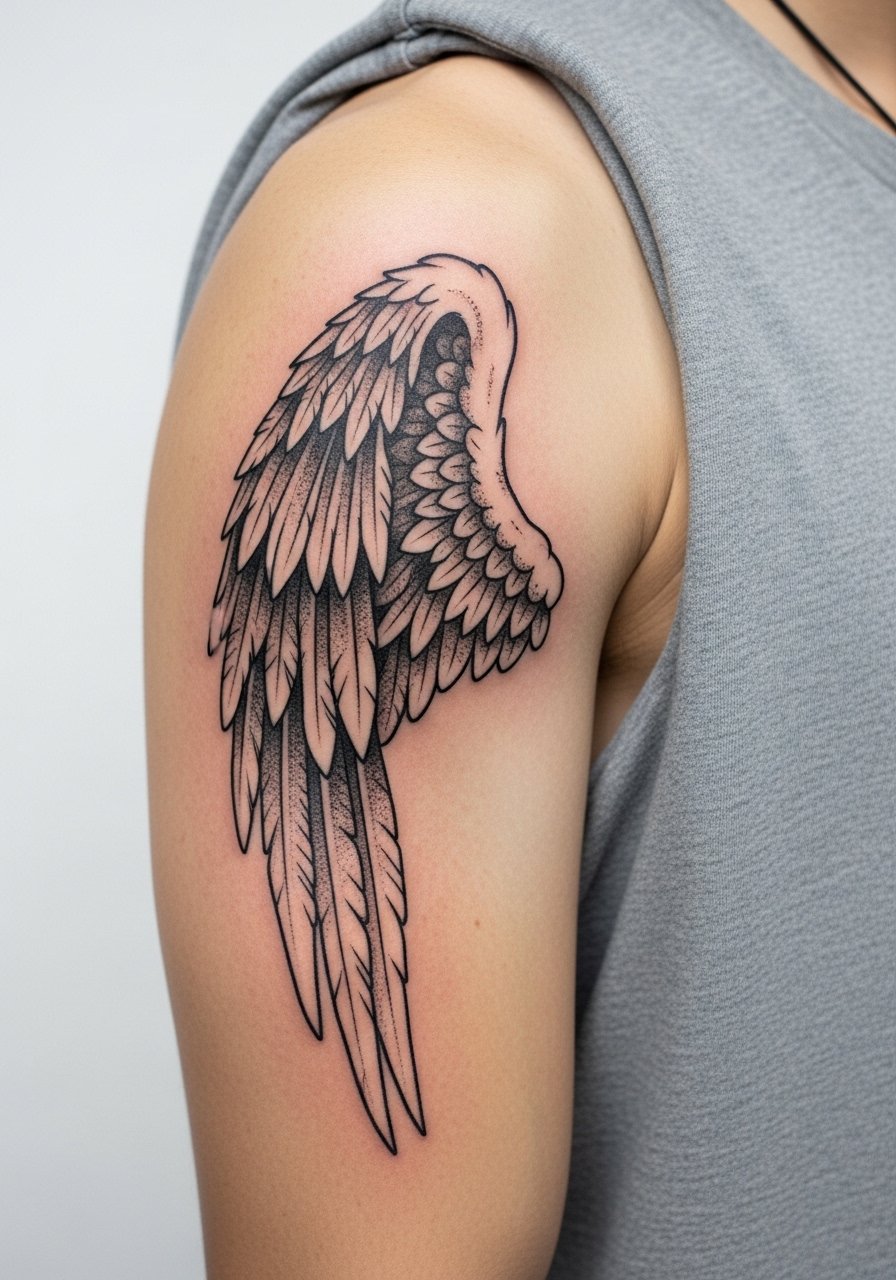
When wings fold into a half-sleeve the trick is to design negative space that breathes around the elbow crease. I tell clients to ask for stipple shading rather than solid grey fill in zones where you want texture without heavy saturation. Pain on the outer arm is moderate and sessions vary by coverage. A common mistake is crowding the sleeve with too many extra motifs which compete with the wing's flow. For casual outfits, a sleeveless linen top or a loose button-down shirt works to show the arm without making it cold during healing.
9. Hip Wing That Peeks from Swimwear
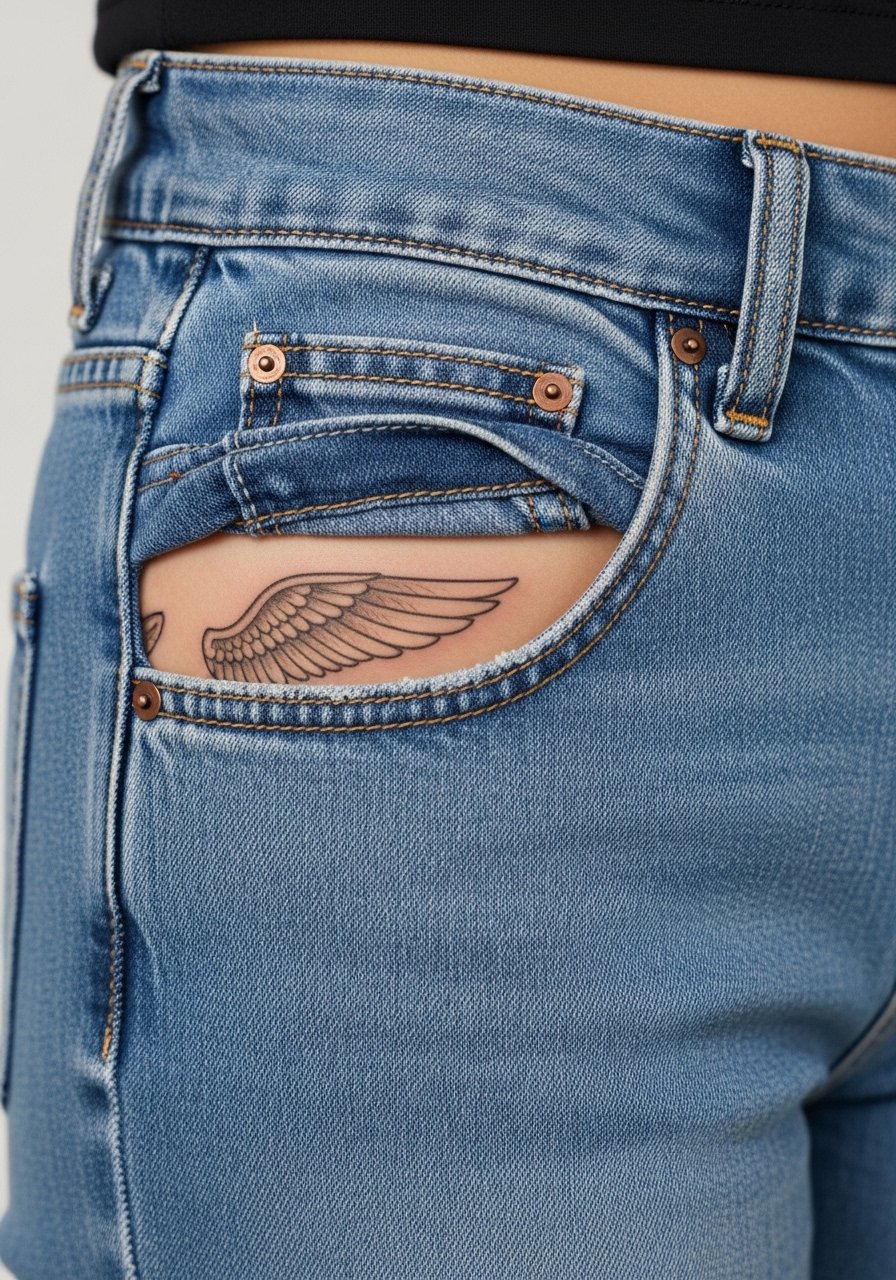
Hip placements shift with clothing and body movement, so plan the design to peek from swimwear or high-cut bottoms rather than sit fully exposed. The skin here is moderately sensitive so expect a session that needs short breaks. One mistake is centering too close to the pelvis where stretch and weight changes can distort fine detail. If you want the wing visible in summer, consider a slightly larger silhouette and gentle stipple near the base so contrast survives sun and saltwater. For session comfort, pick high-waisted bottoms you can lower slightly and a bikini bottom that allows access.
10. Tiny Finger Wing Accent
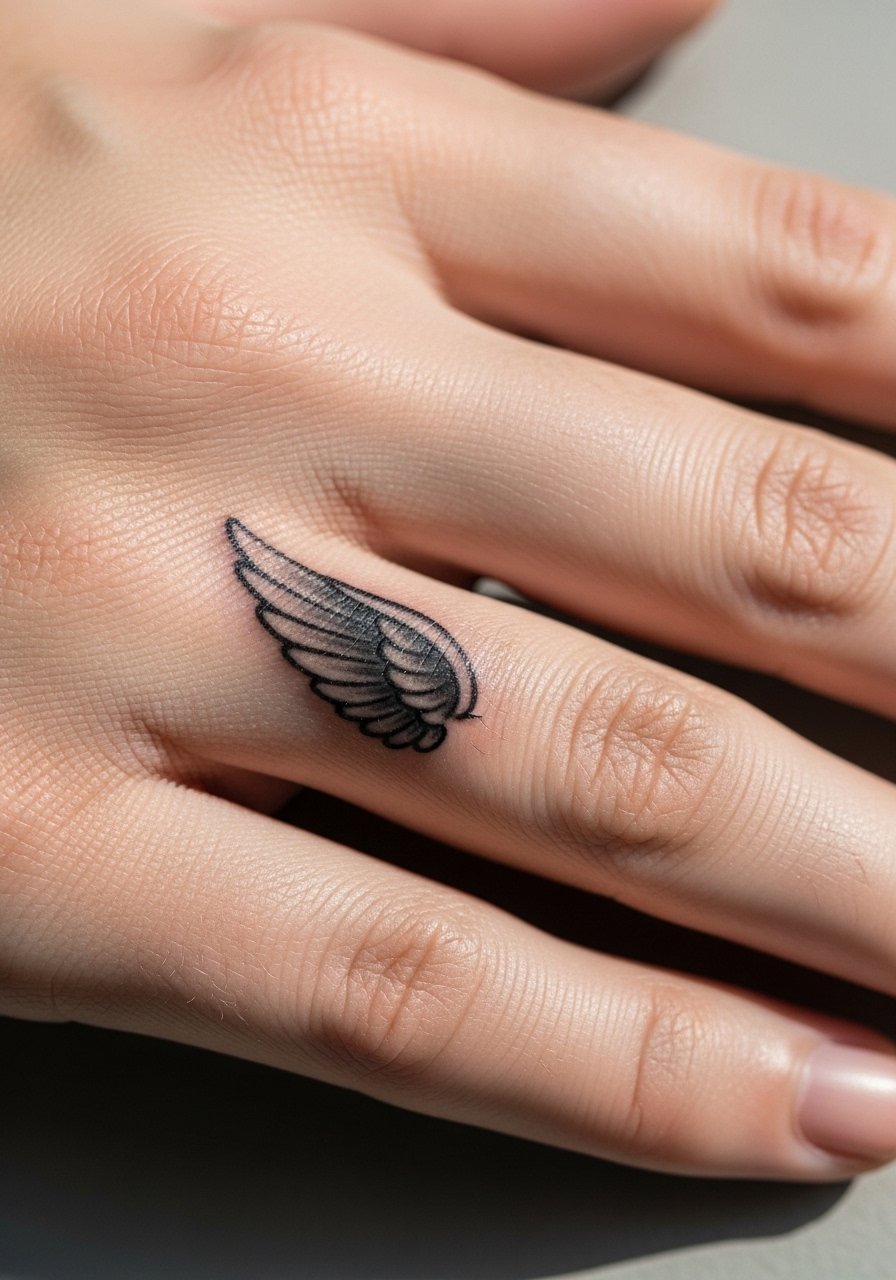
Finger tattoos are notorious for fading and requiring touch-ups because of thin skin and constant use. The best approach for a tiny wing is to keep strong contour lines and avoid interior micro detail. Tell your artist you want bold outer edges to keep the wing readable. Expect frequent touch-ups and accept that the first year may need one revisit. For showing off a finger piece, pair it with stacked dainty rings rather than wide bands which can obscure the design. Try a delicate thin band ring that frames without covering the wing.
11. Micro-Realism Feather on the Inner Forearm
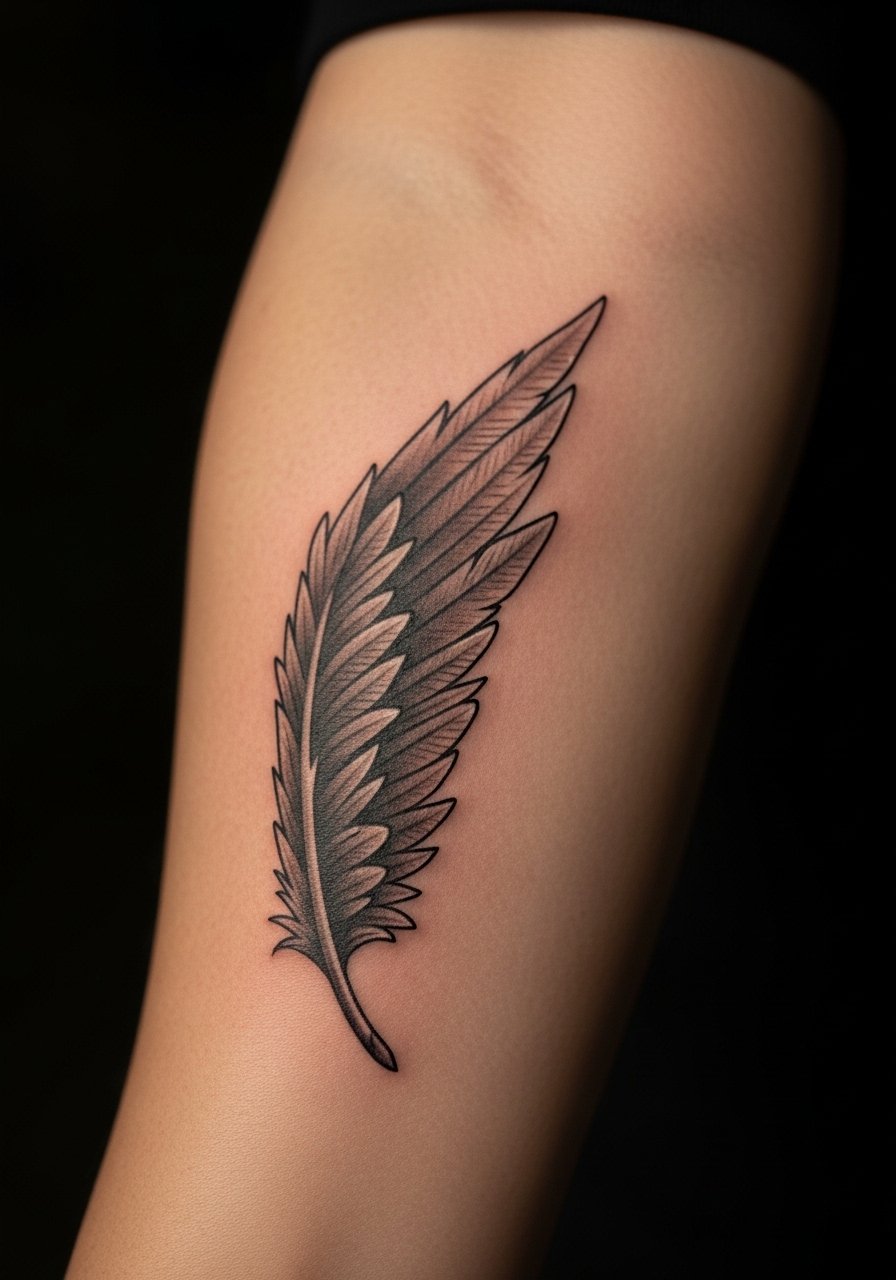
I've seen inner-forearm micro-realism age well when the artist uses balanced saturation and avoids hairline-only strokes. This placement gives time to admire detail and heals predictably with moderate sun exposure risk. During consultation ask for reference photos that show exact line weight and shading contrast so the feather keeps depth at six months. A typical mistake is overworking contrast which leaves heavy patches as the piece settles. For showing or covering quickly, rolled-up sleeves or a racerback tank are practical choices for access.
12. Geometric Wing with Negative Space on the Ribcage
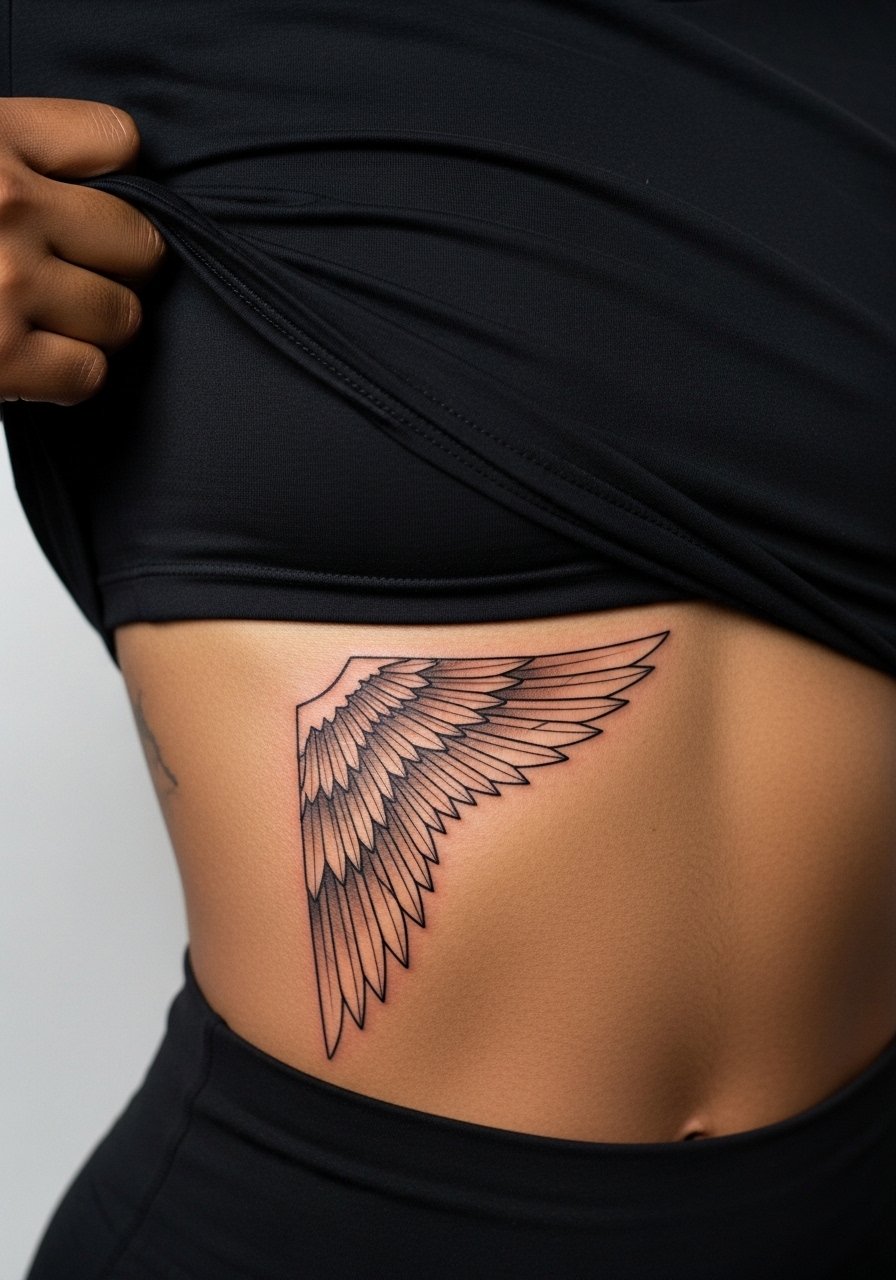
Artists split on fine geometric wings on ribs. One camp says the stretch and breathing here blur fine intersections within two years. The other camp argues that with deliberate spacing and fewer intersecting lines it can last intact. If you like this angle, insist on larger shapes and clear negative-space gaps that will age better than an ultra-dense grid. Expect a higher pain rating and a session that benefits from longer breaks. For the appointment, wear a cropped top you can lift slightly and consider a sports bra so the artist has clear access.
13. Shoulder Cap Wing with Whip Shading
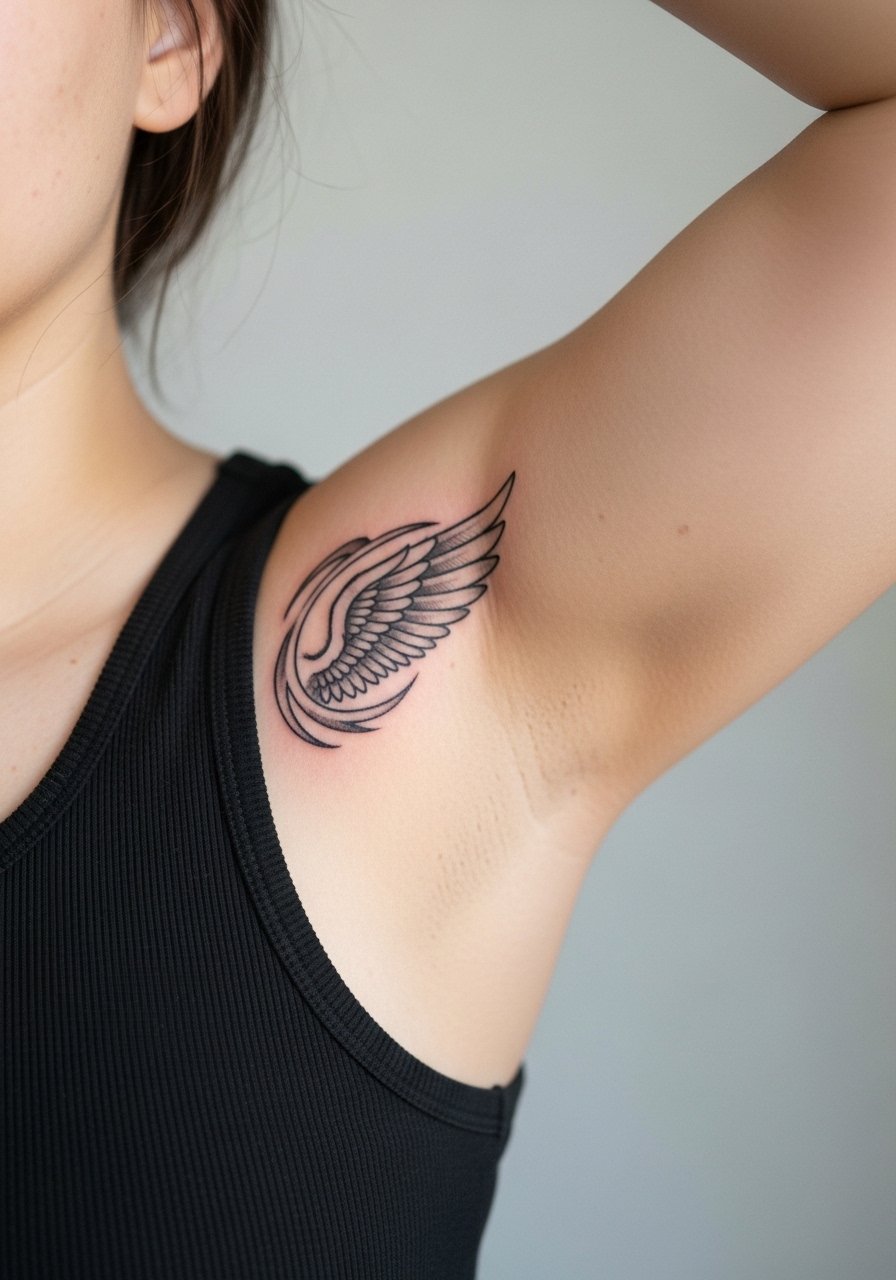
Visual impact matters on the shoulder cap where movement sculpts the wing in motion. Whip shading gives feather texture without heavy saturation and keeps the piece airy. The main mistake is trying to cram realism into too small an area which can look muddy after settling. Sessions are quick and pain is moderate. To show it off, sleeveless tops or a tank top put the cap on display without rubbing during healing.
14. Inner Bicep Folded Wing

This placement feels intimate and moves with the arm, which can blur hairline strokes if the design is too tight. Tell your artist you want slightly more space between feathers and conservative inner detail. The inner bicep is more sensitive than the outer arm, so expect a higher pain rating and possibly multiple short sittings. A common error is requesting dense micro detail that the skin cannot hold. For session wear, a sleeveless or loose button-down you can move aside is the easiest choice.
15. Thigh-Wrapping Wing That Peeks Around Shorts
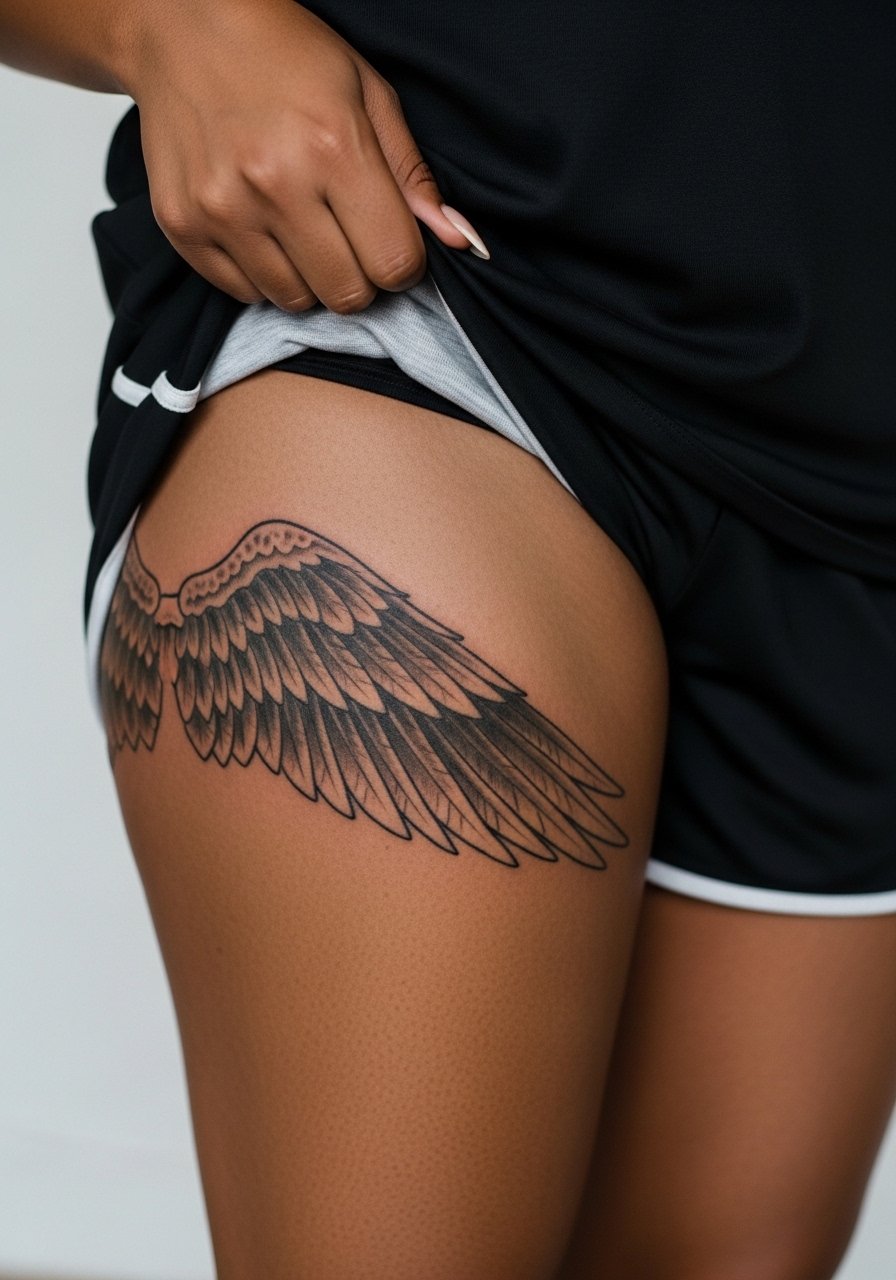
Thigh pieces tolerate larger detail and age well because the skin is stable and less exposed to sun than arms. If you want a wrap effect, ask for a tapered tail that reads around the contour of the leg rather than a flat silhouette. Sessions are longer and pain ranges moderate to low depending on proximity to bone. A mistake is over-saturating inner details that can look busy when the leg moves. Wear loose shorts or a skirt on the day and consider a loose drawstring linen pant for comfort afterward.
16. Nape Wing Accent at the Hairline
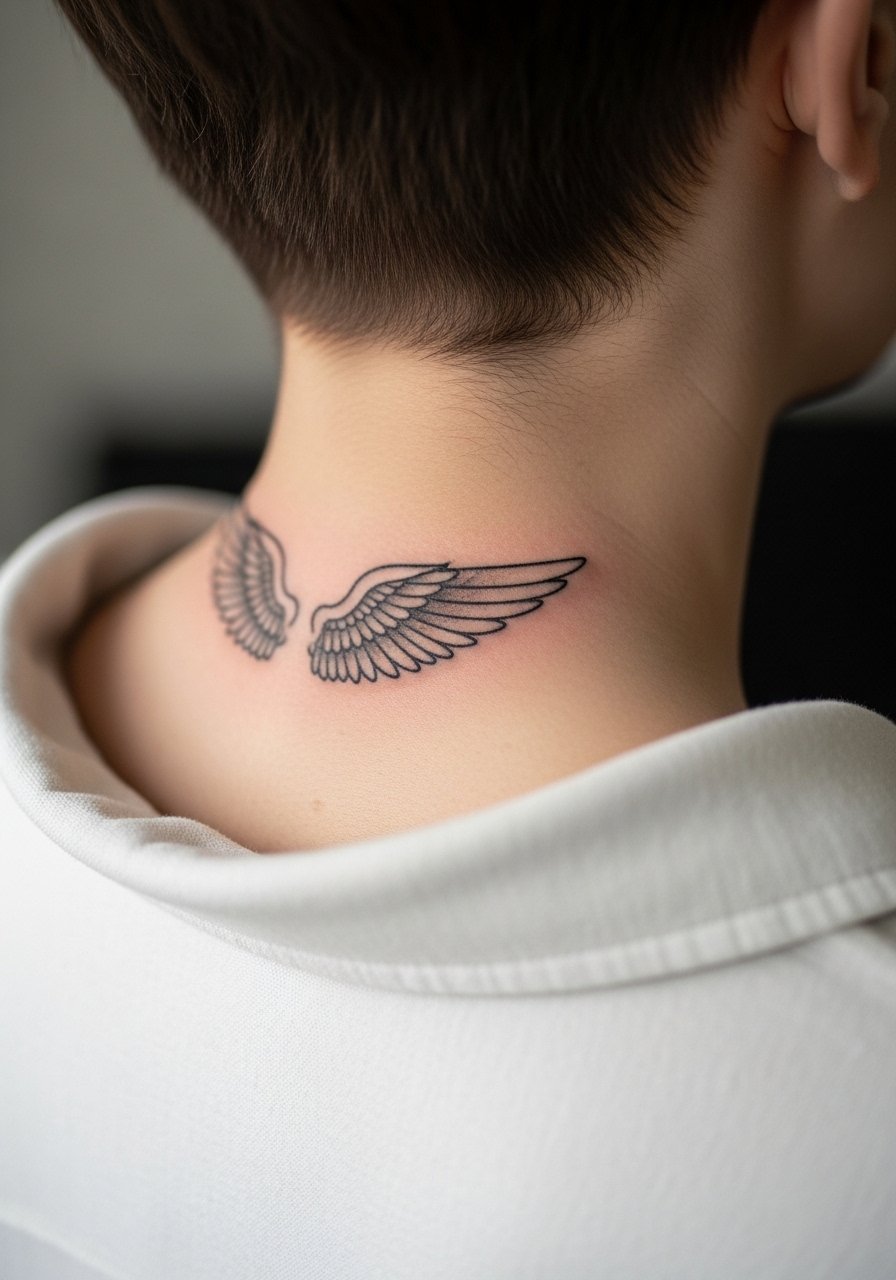
Decision pressure is real when a nape piece shows only when hair is up. Placement at the hairline needs precise mapping so the wing does not peek oddly when hair moves. Pain is moderate and healing can be fussy with hair products. The common mistake is placing it too low where it grabs hair and irritation becomes constant. For the session, wear a wide-neck shirt or turtleneck you can pull down slightly and bring a soft hair tie so you can keep hair out of the way without tugging.
17. Ankle Bracelet Wing That Links with Jewelry
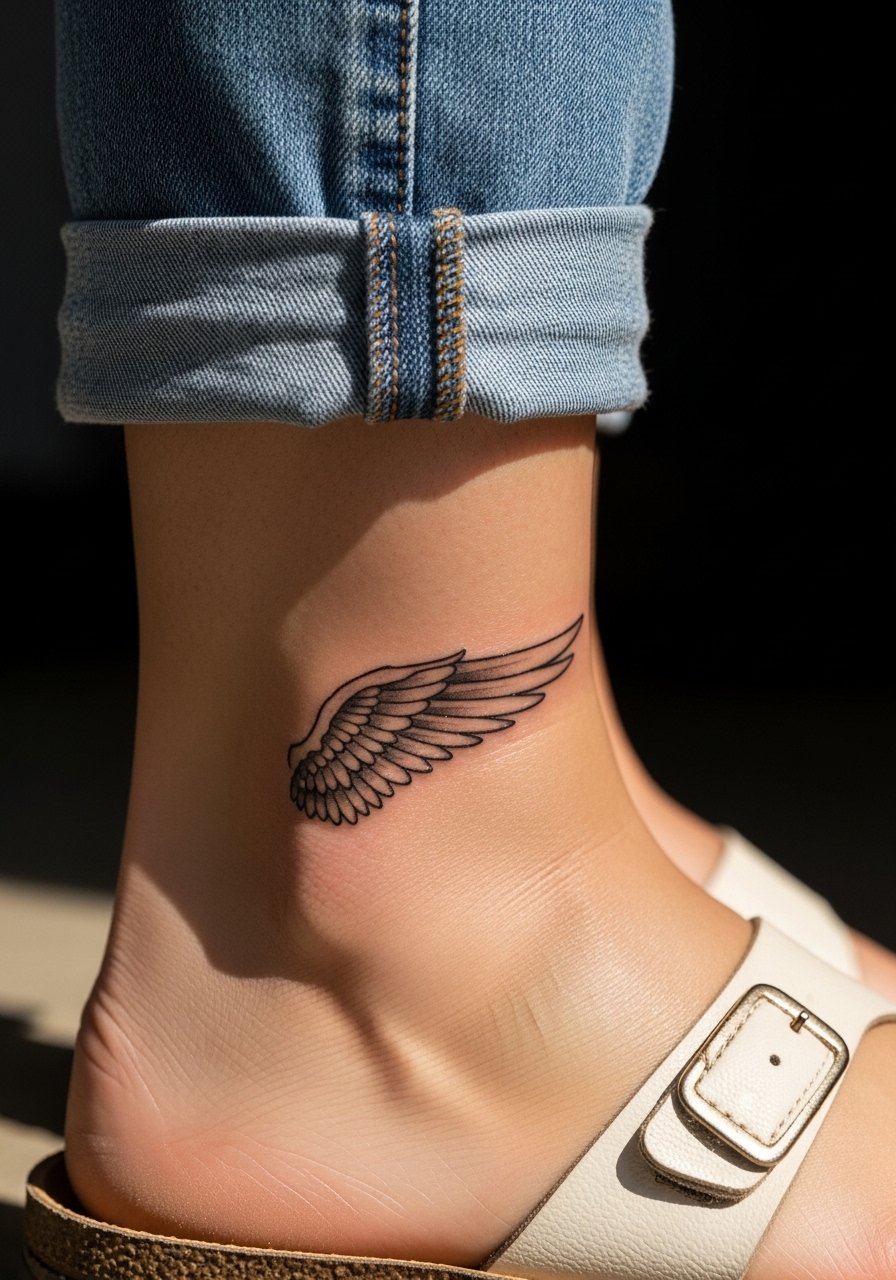
This idea embraces jewelry synergy so the wing reads as part of an anklet composition. Keep the wing thin but with a confident outer edge so it does not lose shape under friction. A usual mistake is making it too intricate where shoe straps and socks rub during healing. Session time is short and touch-ups are common at year two. For showing it off, pair it with thin anklets or sandals and a thin chain anklet rather than chunky footwear.
18. Wrist Script with a Small Wing Accent
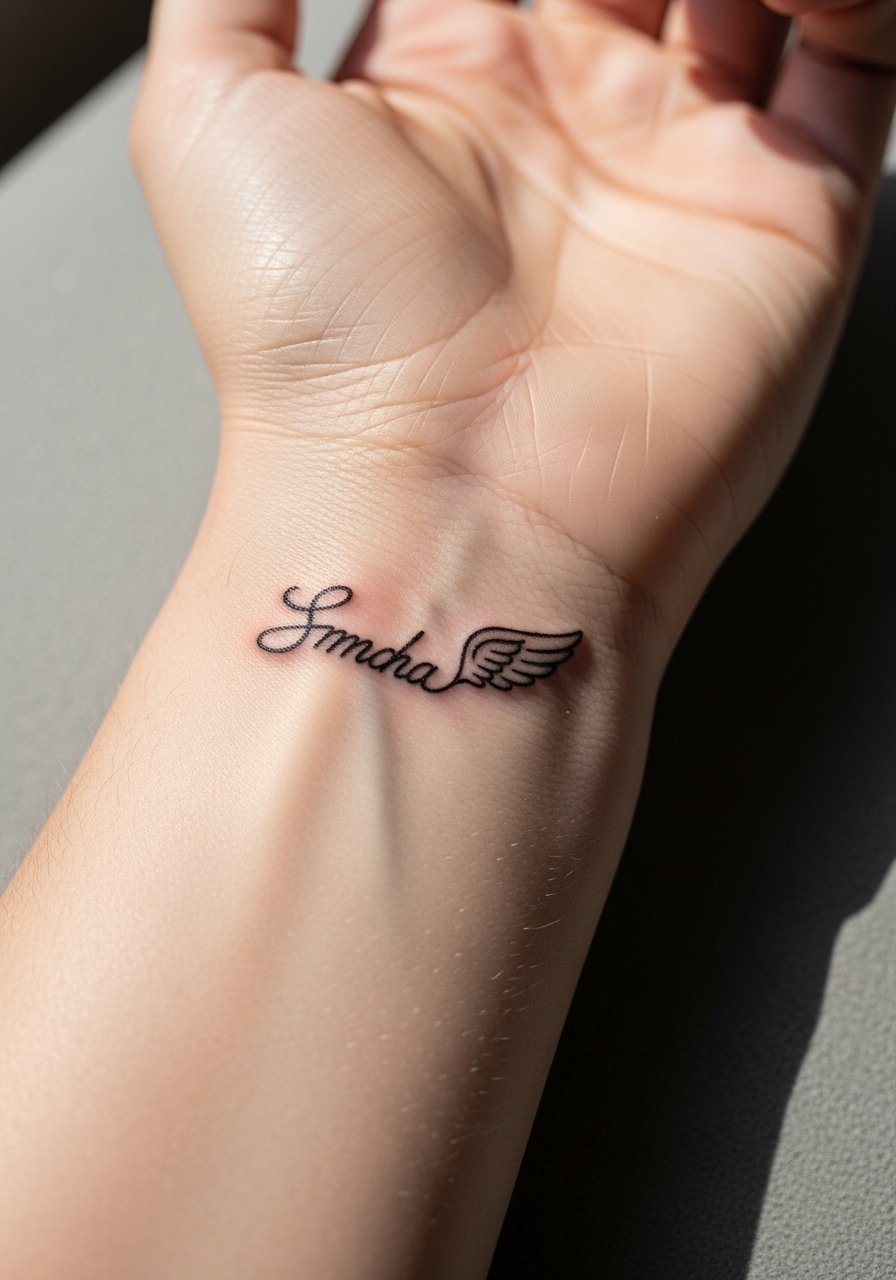
Combining a short word and a tiny wing is common and reads best when the wing does not compete with the lettering for space. When you consult, bring the exact lettering style and say where the wing should sit relative to the word. A common error is compressing both elements too tightly which makes the composition hard to read at a glance. For the session wear, a light cotton tee with sleeves you can roll up keeps the area accessible.
19. Heart-Adjacent Micro Wing Over the Ribcage Edge
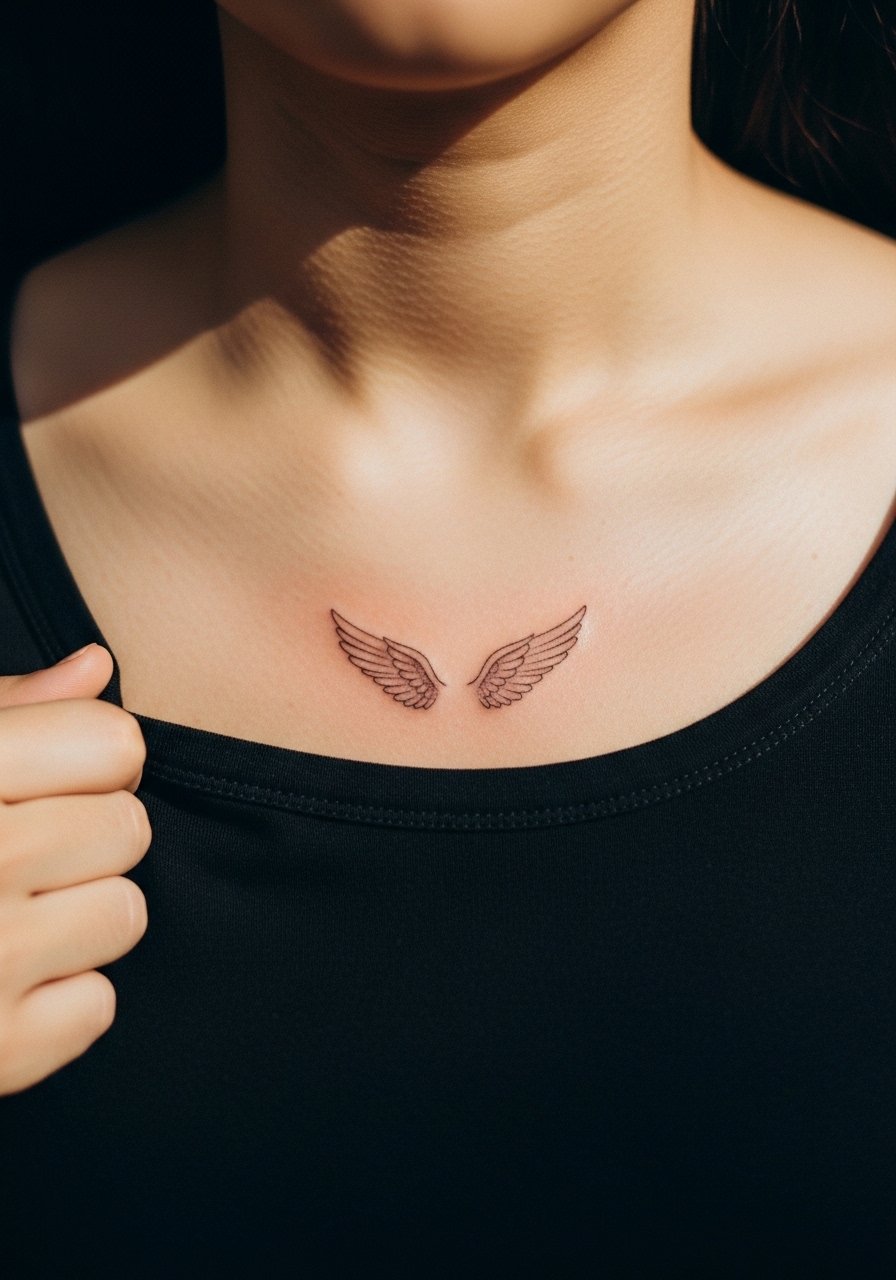
Chest pieces near the heart require a conversation about curvature and how clothing sits over the area. Fine detail placed too close to the sternum can blur due to movement. The practical approach is to scale the wing slightly larger than imagined and to use gentle stipple near the base for depth. Pain is moderate. The mistake is asking for extremely fine single-needle strokes that get lost as the skin moves. For day-of comfort, wear a loose button-down or a wide-neck shirt.
20. Calf Wing in Bold Blackwork
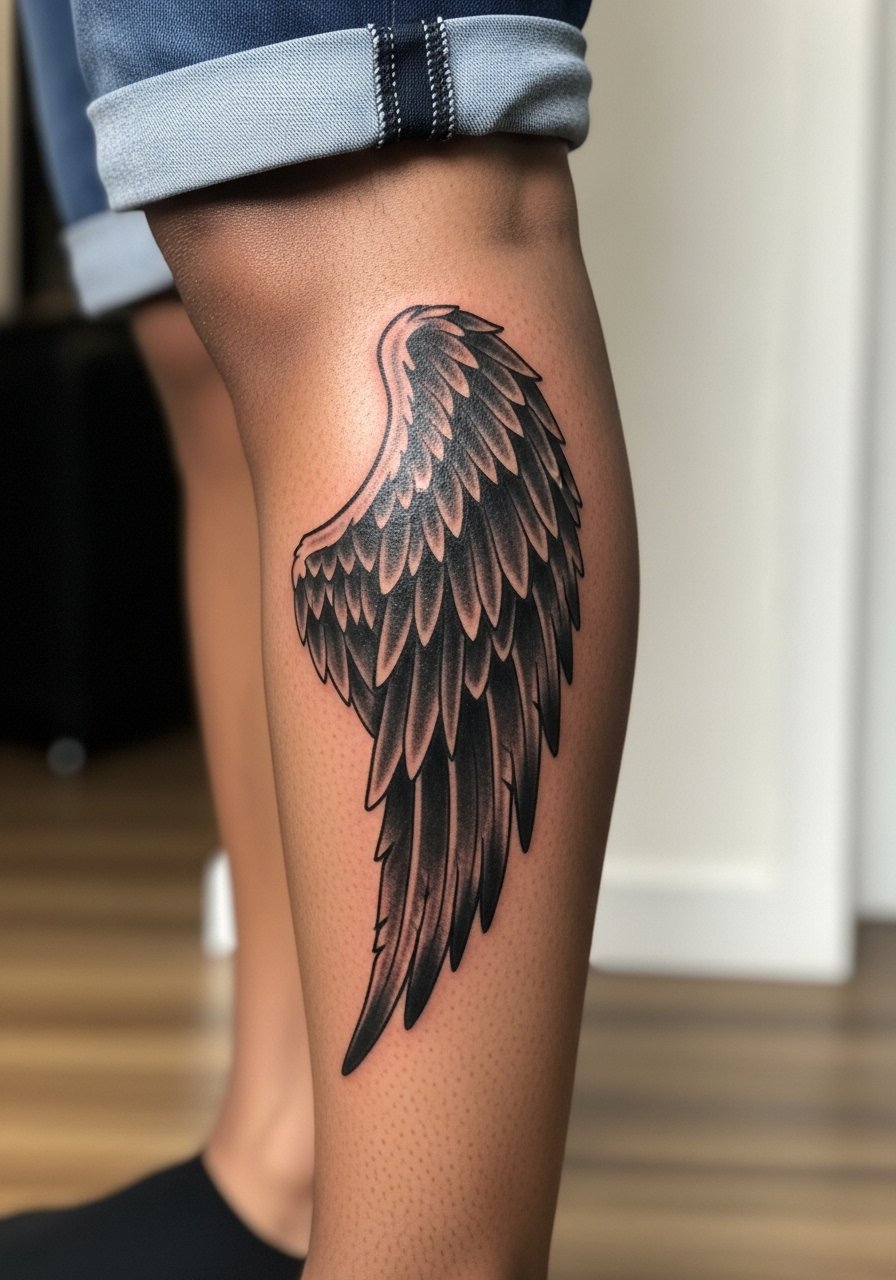
Calf placements are forgiving and suit bolder blackwork that keeps its shape over time. The visual impact is immediate from a distance which is why many choose this for a dramatic wing. Tell your artist you want even saturation and clean outer edges so the silhouette does not fade unevenly. Sessions can be medium in length and pain is usually moderate. One error is attempting tiny micro-feathers that get lost in the expanse. For summer showing, pair the piece with shorts or a casual short that frames the lower leg.
21. Matching Minimal Wrist Wings for Pairs
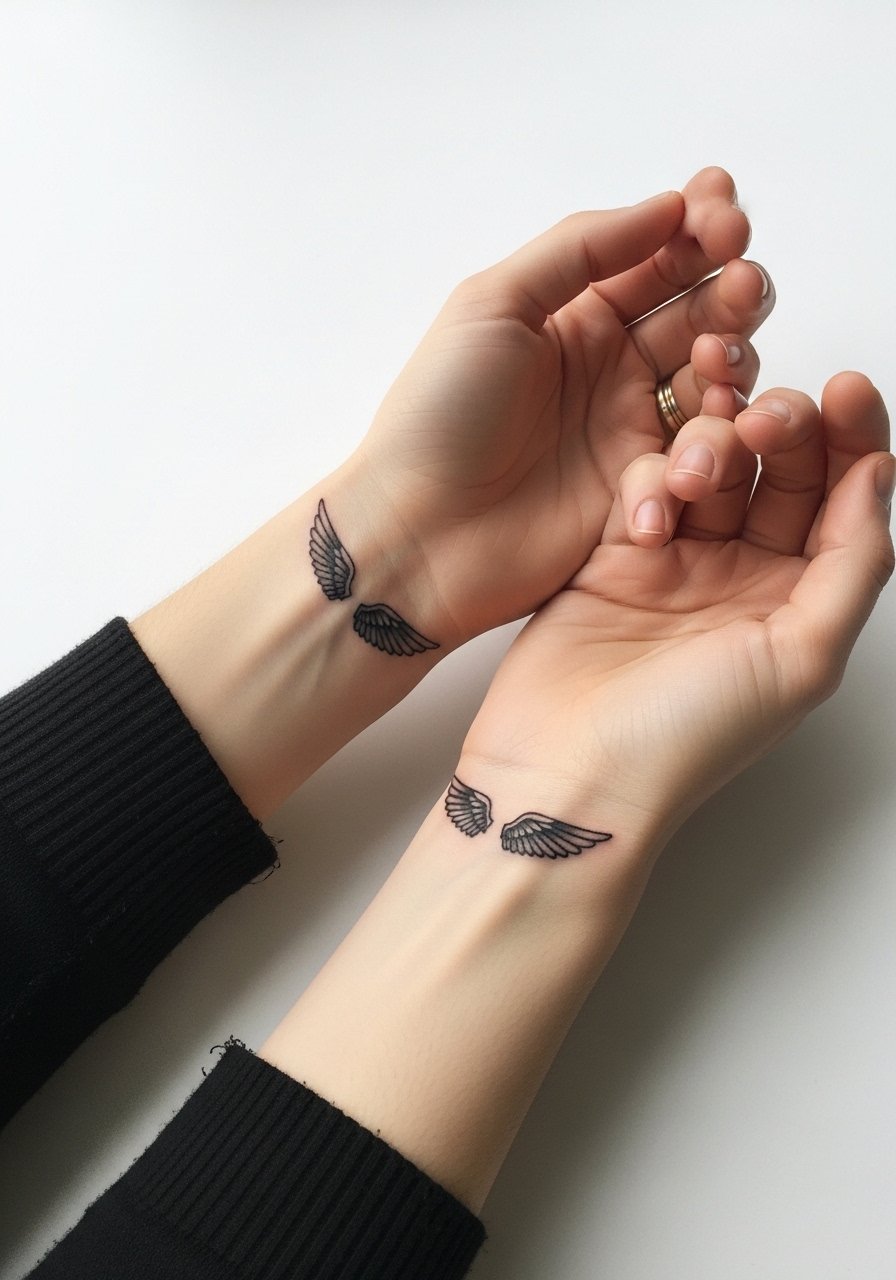
When wings are designed as matching pairs it's crucial the negative space and line weight mirror each other instead of attempting exact micro-symmetry which rarely holds after settling. For couples or friends, ask the artist to stencil both wrists and compare before inking so scale matches live skin. A frequent mistake is using different machines or needle groupings for each wrist which creates visible variance. Expect short sessions and plan for a touch-up that aligns both pieces if necessary. For showing paired wrists, a minimalist bracelet set keeps attention on the wings without crowding them.
Frequently Asked Questions
Q: Do fine line angel wings always need touch-ups sooner than bold blackwork?
A: From what I've seen, fine line wings are more likely to need touch-ups earlier because they rely on narrow strokes that can blur with sun and friction. Bold blackwork tends to hold shape longer because it leans on silhouette and saturation not micro detail. Placement and aftercare matter more than the style alone.
Q: Are ribs or sternum a bad choice for detailed wings if I want them to look sharp in five years?
A: Ribs and sternum are higher risk for fine detail because the skin stretches and moves with breathing. If you want longevity, ask for larger elements, clear negative space, and conservative line weight. Expect a higher immediate pain level and plan for a possible touch-up at year two or three.
Q: Can matching wrist wings look identical after healing?
A: They can be very close but perfect symmetry is rare because skin texture, circulation, and daily use differ between hands. Stenciling both simultaneously and asking the artist to adjust scale on live skin reduces visible variance and makes later touch-ups easier.
Q: How should I prepare clothing-wise for a sternum, rib, or hip wing session?
A: Wear clothing that exposes only the work area while keeping you comfortable. For sternum and upper chest, a fitted sports bra or bandeau is easiest. For ribs and hips, a cropped top or shorts you can lower slightly gives clean access without full exposure.
Q: Is there a cultural consideration with angel wing designs I should be aware of?
A: Wings can carry religious or cultural meaning for some people. If your design borrows specific iconography from a tradition, consider a respectful variation or ask your artist about subtle changes that honor the origin without direct replication.
